Toolbars Provide Options
Here is a fairly complicated toolbar (“Ribbon“) for MS Word. Its really worth getting to know how the Ribbon toolbar is arranged
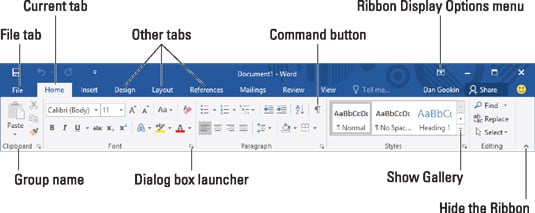
Toolbars consist of two main parts, an upper and a lower part
- the upper part (eg File Edit View etc) provide menu options
- the lower part are quick action buttons
The Ribbon menu for Word 365 (Web) is simpler, but does not have some features
Page Borders (MS Word)
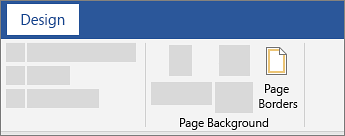

- Go to Design > Page Borders.
- Page Borders
- Make selections for how you want the border to look.
- Page border settings
- To adjust the distance between the border and the edge of the page, select Options. Make your changes and select OK.
- Page border shading
- Select OK.
Page Borders (Web)
- Word for the web does not let you edit, delete, or add new borders to text (proof!)
- If you’ve added borders around text in a document you created with the Word desktop app, Word for the web will preserve them.
- A potential workaround is to insert a table that contains only one cell, then paste or type your text into that cell (I would mark this as acceptable)
Fill Colour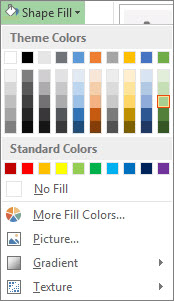
- Select the shape—the Drawing Tools appear in the ribbon, with the Format tab active
- A shape with new fill, text, and border colors
- On the Drawing Tools Format tab, click Text Fill and, under Theme Colors, pick the color you want.
Note: The Text Fill and Text Outline menus might not be active until you start typing in your shape. - WordArt Styles commands on the ribbon
- Text Fill command
- Change the inside (fill) color (paint bucket)
- Select the shape or text box to change. When you do that, the Drawing Tools appear.
- To change multiple shapes or text boxes, click the first shape or text box, and then press and hold Ctrl while you click the other shapes or text boxes.
- Click Shape Fill, and under Theme Colors, pick the color you want.
- Shape Styles commands on the ribbon
- Shape Fill command
- To change the fill color to a color that isn’t in the theme colors
- Select the shape or text box.
- On the Drawing Tools Format tab, click Shape Fill > More Fill Colors.
- In the Colors box, either click the color you want on the Standard tab, or mix your own color on the Custom tab. Custom colors and colors on the Standard tab aren’t updated if you later change the document theme.
- Change the border color
- Select the shape or text box border. When you do that, the Drawing Tools appear.
- On the Drawing Tools Format tab, click Shape Outline and, under Theme Colors, pick the color you want.
- Shape Styles commands on the ribbon
- Shape Outline command
Adding Image Effects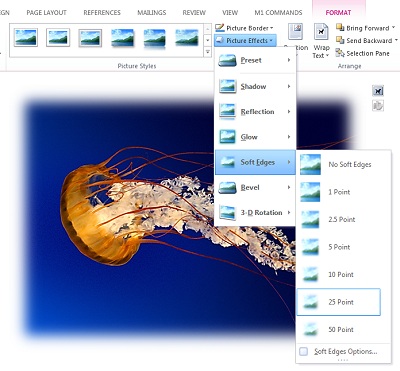
- Select the picture for which you want to add or change an effect
- option 1
- Under Picture Tools, on the (Image) Format tab, in the Picture Styles group, click Picture Effects.
- Rest your pointer on one of the Picture Effects options to see a menu of different ways to apply each effect. When you rest your pointer on one of the menu effects, the effect appears as a preview on the picture in your document.
- option 2
- Right click the image
- Select Format image
A complex menu appears to the right
- see more